
|
141.326 bytes |
Parts Information |
Document ID: DDSE-439PEY |
Netfinity 5000 - Option Installation
Applicable to: World-Wide
Option Installation
|
Before you begin |
|
Caution |
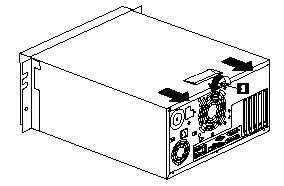
Preparing a Tower Model: The hard disk drives in Netfinity 5000 are hot-swappable. If you are installing only a hard disk drive (bays 1 through 5), go directly to Internal Drives Installation or Removing. Otherwise, continue with the following steps.
1. If you have a modem or fax machine attached to the server, disconnect the telephone line from the wall outlet and the server.
|
Note |

|
Caution |
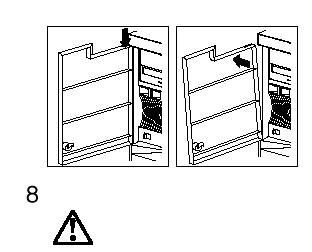
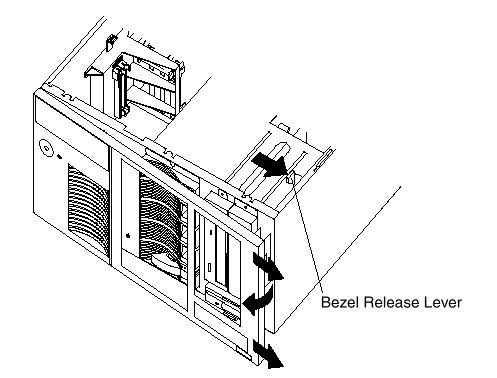
5. If you are installing or removing a drive in bays A to C, remove the front bezel.
a. Locate the blue bezel release lever on the left side of the server in the top front corner.
b. Move the lever upward following the curve of the lever opening.
c. Lift the bezel tabs out of the slots at the bottom and pull the bezel out from the server front.
6. Install (or remove) the desired options. (Adapters, Memory modules, Internal Drives Installation or Removing, Microprocessors, Power Supplies, External Options, or Security.)
Preparing a Rack Model
|
Before you begin |
The hard disk drives in Netfinity 5000 are hot-swappable. If you are installing only a hard disk drive (bays 1 through 5), go directly to Internal Drives Installation or Removing. Otherwise, continue with the following steps.
1. If you have a modem or fax machine attached to the server, disconnect the telephone line from the wall outlet and the server.
|
Note |

|
Caution |
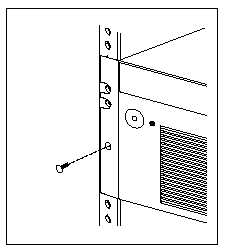
4. Pull the rack model out of the rack enclosure until both slide rails lock.
|
Note |
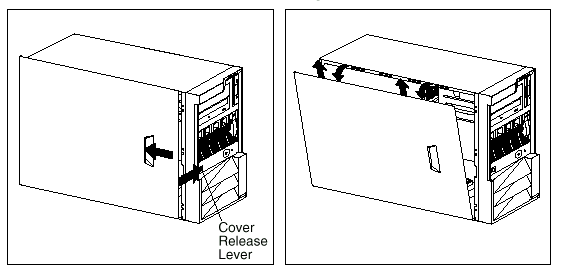
5. Remove the top cover.
a. Locate the captive thumbscrew  on the back of the cover and turn it to release the cover.
b. Slide the cover back about 25 mm (1 inch); then, lift the cover and remove it.
c. Set the cover aside in a safe place.
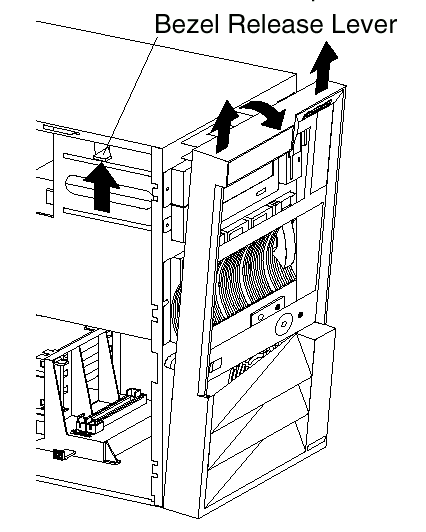
d. If you are installing or removing a drive in bays A to C, remove the front bezel.
1) Locate the blue bezel release lever on the top of the server, in the right front corner.
2) Move the lever toward the right, following the curve of the lever opening.
3) Lift the bezel tabs out of the slots at the left and pull the bezel away from the server front.
b. If necessary, remove the server from the rack enclosure before installing options. For more information about removing the server from the rack enclosure, see Removing the Rack Model from a Rack Enclosure.
6. Install (or remove) the desired options. (Adapters, Memory modules, Internal Drives Installation or Removing, Microprocessors, Power Supplies, External Options, or Security.)
|
Search Keywords |
| |
|
Document Category |
CD-ROM Drives, Hard Drives, Memory, Networking, Tape Drives, Controllers, Power, Processors, Security | |
|
Date Created |
17-12-98 | |
|
Last Updated |
17-12-98 | |
|
Revision Date |
17-12-99 | |
|
Brand |
IBM PC Server | |
|
Product Family |
Netfinity 5000 | |
|
Machine Type |
8659 | |
|
Model |
ALL | |
|
TypeModel |
| |
|
Retain Tip (if applicable) |
| |
|
Reverse Doclinks |