
|
47.298 bytes |
Service Hints & Tips |
Document ID: MNOK-3T6R6W |
Aptiva - How to enable the remote control
Applicable to: United States
1. Click on Start, Settings, Control Panel.
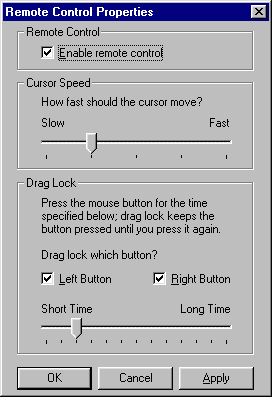
2. Double click the Remote Icon in Control Panel.
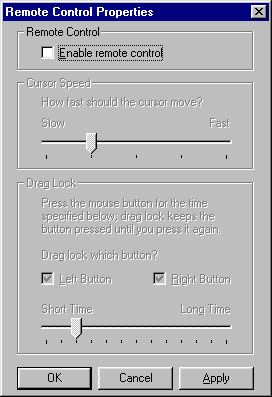
3. Click to place a check mark beside "Enable Remote".


If no icon appears for the Remote, or a problem is experienced when using the Remote, please see the following section on Configuring the Remote.
Configuring the Remote:
Power the machine off.
Connect/Reseat the Receiver to Serial Port A.
Make sure that the batteries in the Remote have power. You can test the batteries by pressing any button on the handset which will also cause the light behind the red window to blink.
Configuring the System to use the Remote:
Power the machine on.
Your Aptiva came with the software for the Remote, and it should detect and use the remote automatically. If not, you may need to load the software using the following steps:
Browse to the C:\Windows\Options\Cabs directory using the Explorer or My Computer.
Find the LRemote.inf file and use the right mouse button to click it.
Click Install.
|
Search Keywords |
| |
|
Hint Category |
Input Devices, Windows 95 | |
|
Date Created |
02-04-98 | |
|
Last Updated |
02-07-98 | |
|
Revision Date |
01-06-99 | |
|
Brand |
IBM Aptiva | |
|
Product Family |
Aptiva | |
|
Machine Type |
2162 | |
|
Model |
S8C; 28R; S9C; 29R; SIB; S9M; 41R; S35; 35R; S3C; 37R | |
|
TypeModel |
| |
|
Retain Tip (if applicable) |
| |
|
Reverse Doclinks |