

|
240.413 bytes |
Service Hints & Tips |
Document ID: MNOK-3TAQSB |
Aptiva - How to setup CompuServe 3.0
Applicable to: World-Wide
Step 1 -- Install the Software for CompuServe
NOTE: If you have an Aptiva model 2134/2144/2168/2176/2159, CompuServe is already installed on your computer. Open the IBM Information Superhighway icon, open CompuServe and skip to Step 2 -- Setup the Modem
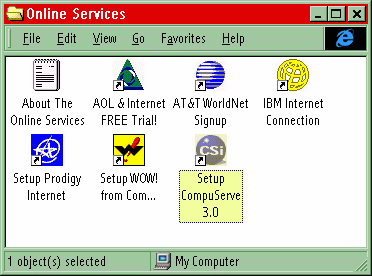
Open the Online Services folder.
Open the icon labeled "Setup CompuServe 3.0".
Click Yes to continue.
Click the button labeled Express.
CompuServe will now copy the needed files. This process will take a few minutes.
Make sure there is a check mark next to "Start CompuServe 3.0 now". Click Finish.
The CompuServe program will now open. Click the "Signup" button.
Step 2 -- Setup the Modem
The CompuServe Signup Wizard starts. Click Next to continue.
Click "United States". Click Next.
Place a check mark beside each item that applies. Click Next.
When prompted to select the communications port that your modem is using select "Auto-Detect". Click Next.
CompuServe will search for and find your modem. Click Next.
Click Finish to continue.
Now that CompuServe knows about your modem, it will dial a toll free number to download a list of local numbers.
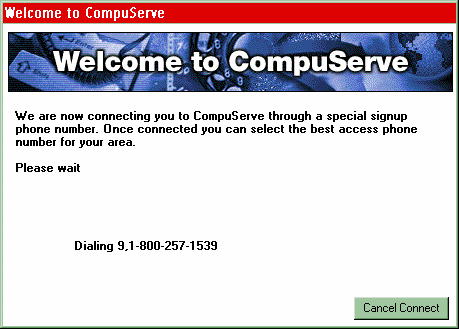
Step 3 -- Find a Local Access Number
Enter your Area Code and the first three digits of your phone number. Click Next.
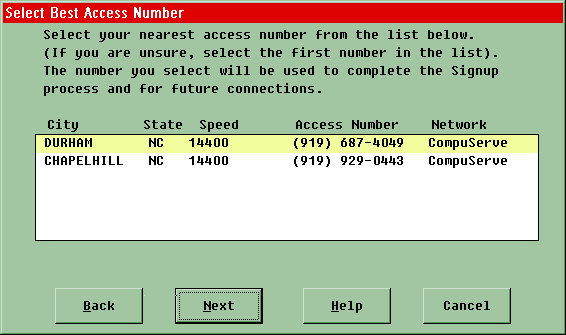
Select the nearest access number. Click Next.
NOTE: Please ensure that the number you select is local. Your phone company's normal line charges will apply.
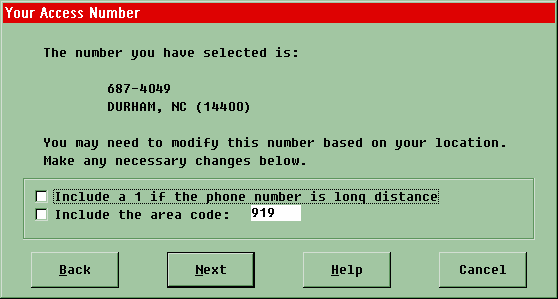
If the area code or a "1" is needed before the number, place a check mark in the appropriate box. Click Next.
CompuServe will now disconnect from the toll free number and connect to the local number you selected.
This process will take a few minutes.
Step 4 -- Enter Billing Information
Please enter your personal information. All information is required. Click Next.
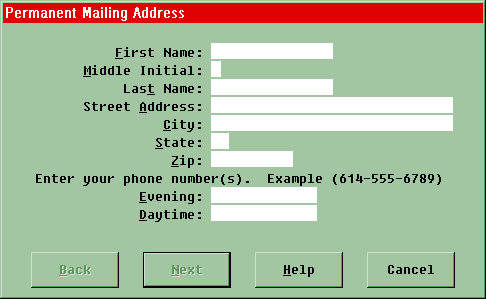
Choose a billing method. Click Next.
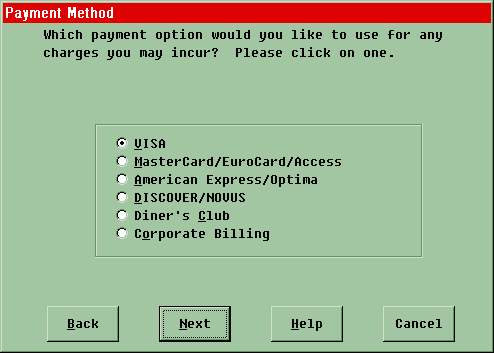
Enter the billing information.

Processing the information takes a few minutes. Please be patient at this step.
Step 5 -- Complete the Membership Agreement and Choose an Email Address
Please read the membership options. Select the options you would like. Click Next.
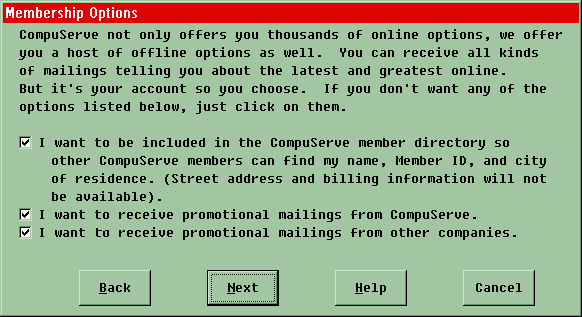
You are now a Member of CompuServe. Please read the membership and billing information. Note the customer service number for future questions. Click Next to continue.
Please read the Membership Agreement. Place a check mark next to "Agree". Click Next.
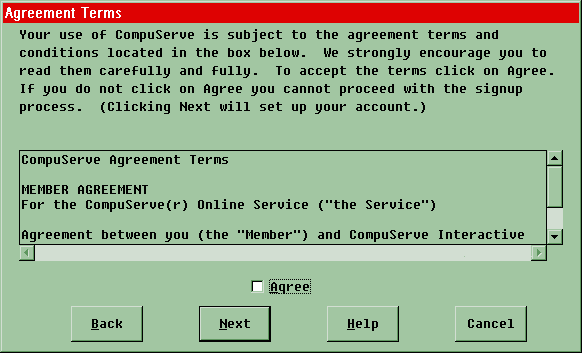
CompuServe will process your Membership Agreement. This process may take several minutes.
Please write down your Member ID and Password. You will need it to complete registration and for future reference.
NOTE: You should **NEVER** give your password to anyone. This is the key to your account.
Please read what CompuServe has to say about passwords. Click Next.
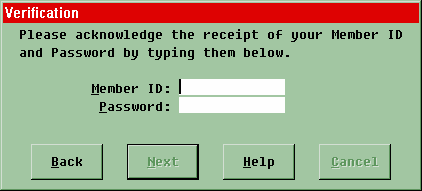
Please enter your Member ID and Password for confirmation. If you did not write it down in the previous step, click Back. Click Next.
Your Membership registration is now complete. Next, you will choose an email address. Click OK to continue.
Please choose the address that you would like, or click "Other" and type one. Click Next.
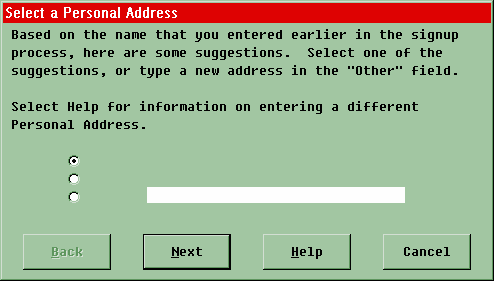
Make sure that this is the email address that you would like. You will not be able to change it later. If you do not like the address, you can click Back and change it. Click Next to continue.
Please make a note of your full email address. Click OK to continue.
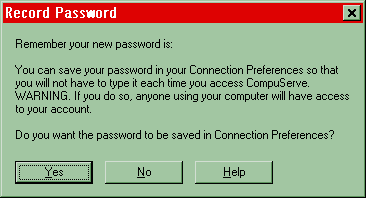
Please verify that you have written down your password correctly. If you do not wish to have to reenter your password every time you connect, click Yes. For more information, click Help.
Step 6 -- Use the Service!
You are now a member of CompuServe!!
|
Search Keywords |
| |
|
Hint Category |
Communications Software, Software Installation/Configuration | |
|
Date Created |
06-04-98 | |
|
Last Updated |
09-12-98 | |
|
Revision Date |
08-12-99 | |
|
Brand |
IBM Aptiva | |
|
Product Family |
Aptiva | |
|
Machine Type |
2134, 2136, 2137, 2138, 2140, 2142, 2144, 2159, 2161, 2162, 2168, 2176 | |
|
Model |
All | |
|
TypeModel |
| |
|
Retain Tip (if applicable) |
| |
|
Reverse Doclinks |