
|
44.027 bytes |
Service Hints & Tips |
Document ID: DETR-42RNJN |
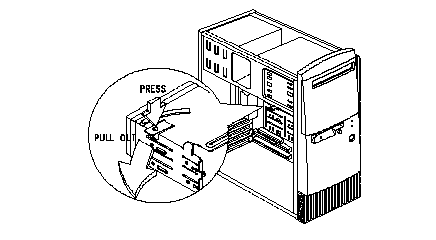
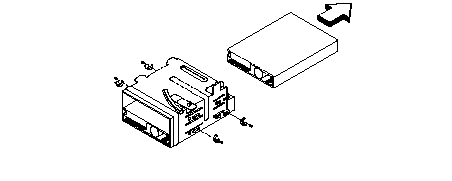
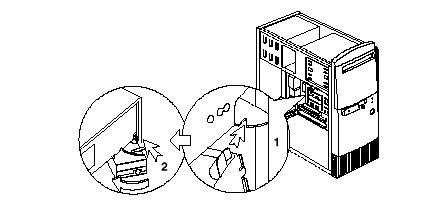
Aptiva - 2158/2163 Removals and replacements - Bays 3 and 4
Applicable to: World-Wide
Bay 3 - 3.5-In. Bay (Internal or External Access)
Bay 4 - 3.5-In. Bay (External Access for Diskette Drive)


NOTE: Reinstall The 3.5-in Drive Frame

|
Search Keywords |
| |
|
Hint Category |
Hardware Installation/Configuration, Hard Drives, Diskette Drives | |
|
Date Created |
01-12-98 | |
|
Last Updated |
18-02-99 | |
|
Revision Date |
18-02-2000 | |
|
Brand |
IBM Aptiva | |
|
Product Family |
Aptiva | |
|
Machine Type |
2158, 2163 | |
|
Model |
all | |
|
TypeModel |
| |
|
Retain Tip (if applicable) |
| |
|
Reverse Doclinks |