

|
763.117 bytes |
Service Hints & Tips |
Document ID: MNOK-3T7RAE |
Aptiva - How to configure a mouse
Applicable to: World-Wide
Dos / Windows 3.x
1. Boot into Windows 3.x
2. Double Click on the "Main" Icon
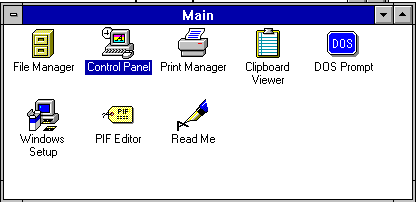
3. Double Click on the "Control Panel" Icon
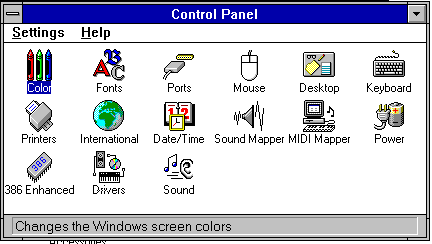
4. Double Click on the Icon Labled "Mouse"
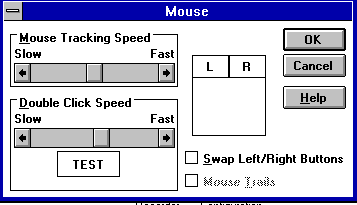
5. Here you can Adjust:
Mouse Tracking Speed - To control how fast the mouse pointer moves across the screen.
Double Click Speed - Controls how fast the user has to click on the mouse button to get the Double Click effect. If the speed is set to fast, the user has to click the button more rapidly to get the desired response. Conversely, if the speed is set to slow, the user can get the double click effect even with slower clicks on the mouse.
Swap the Left and Right buttons - Allows ease of use for a left-handed user.
6. Click "OK" when you have the desired settings.
OS/2
1. Boot into OS/2
2. Double Click on the "OS/2 System" Icon.
3. Double Click on the "System Setup" Icon.
4. Double Click on the "Mouse" Icon.
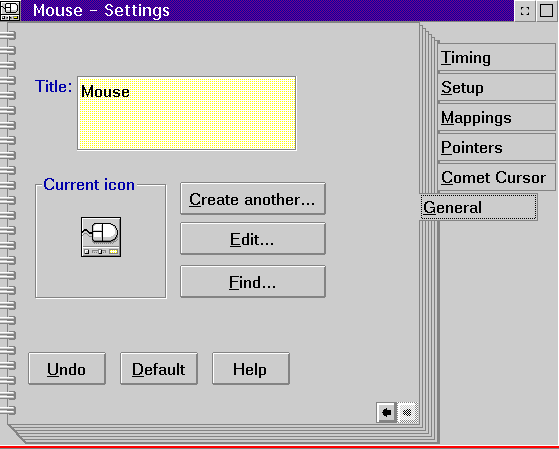
5. There will be six tabs in the Mouse - Settings
Timing:
Double-Click: Controls how fast the user has to click on the mouse button to get the Double Click effect. If the speed is set to fast, the user has to click the button more rapidly to get the desired response. Conversely, if the speed is set to slow, the user n get the double click effect even with slower clicks on the mouse.
Tracking Speed: To control how fast the mouse pointer moves across the screen.
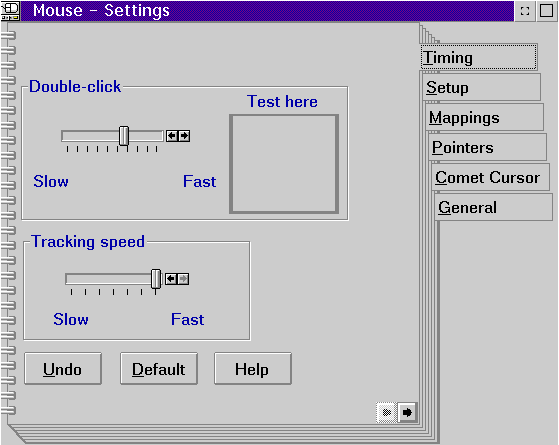
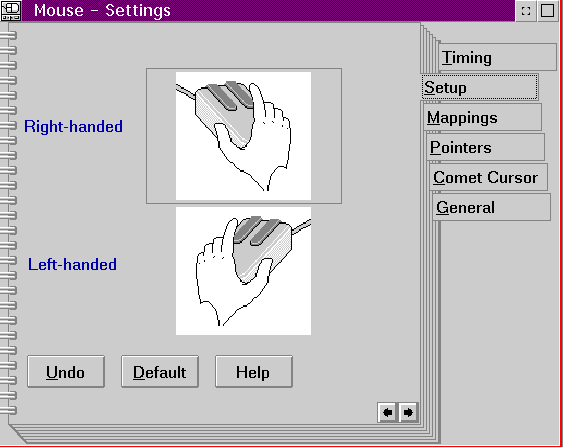
Setup - To set the mouse for a right- handed or left-handed user.
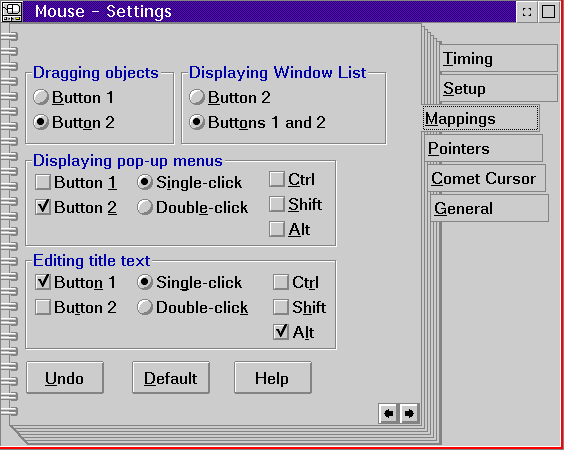
Mappings - Here the user can define which mouse buttons perform what task. The user can also determine whether it takes one or two clicks to perform a task. These tasks are: Dragging Objects, Displaying windows list, Displaying pop-up menus, and Editing title text.
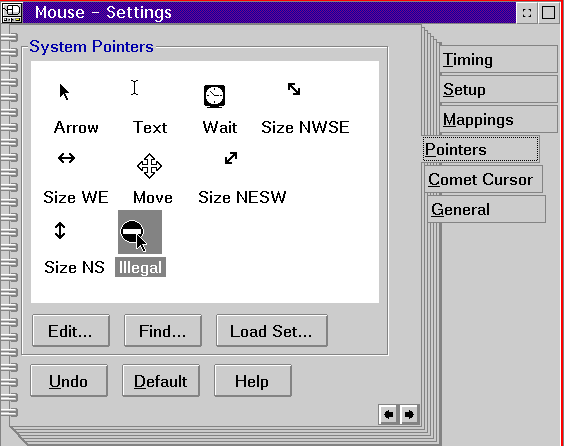
Pointers - Shows the user what graphic represent the mouse pointer during a given situation.
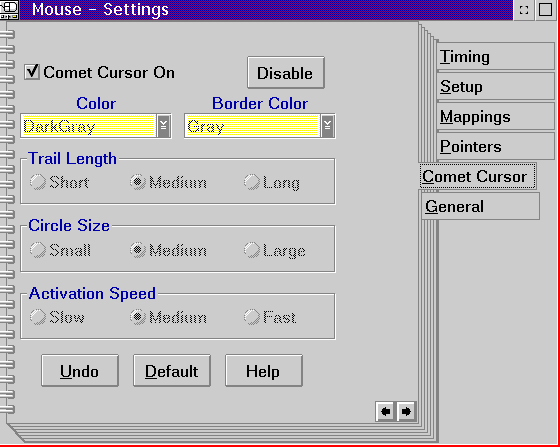
Comet Cursor - Enables or disables pointer trails and allows adjustment of the trail if enabled.
General - Allows the user to change the name and icon for the mouse setting within system setup.
Windows 95
1. Boot into Windows 95.
2. Go into the Control Panel by clicking on Start -> Settings ->Control Panel.
3. Double Click on the Mouse icon.
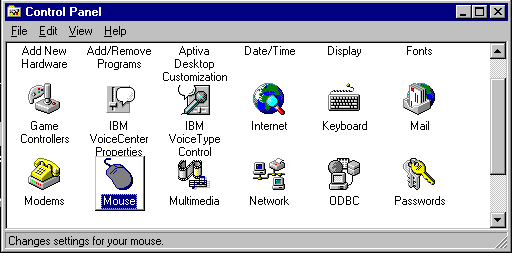
There are three Different types of Mice sold with the IBM Aptiva.
I. Standard two button style mouse.
For the Standard two button mouse, there will be four tabs within the Mouse properties.
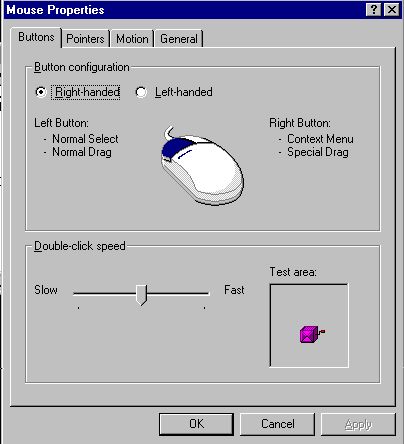
1. Buttons - Allows the user to define Right-Handed or Left-handed configurations, and allows adjustment of the double click speed. If the speed is set to fast, the user has to click the button more rapidly to get the desired response. Conversely, if the speed is set too slow, the user will not get the double click effect even with slower clicks on the mouse.
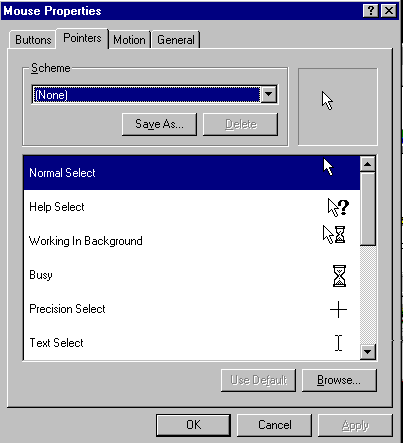
2. Pointers - Allows the user to adjust what the mouse pointers look like for specific situations.
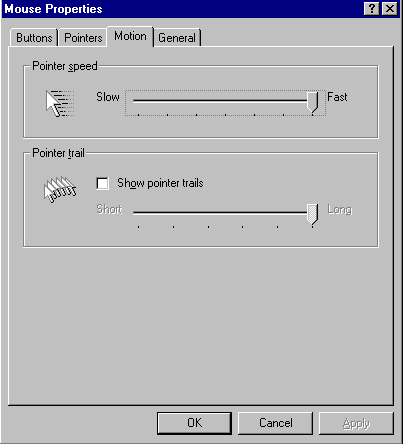
3. Motion - Allows the user to adjust the speed that the pointer moves across the screen, and the size of the trail behind the pointer.
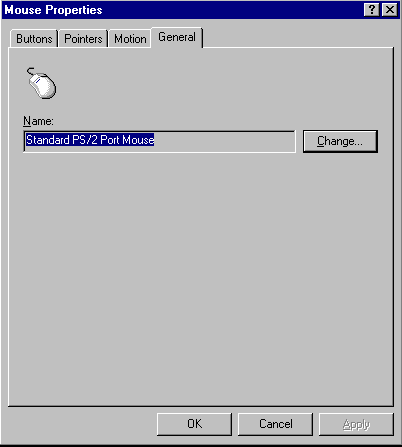
4. General - Allows the user to define what type of mouse is installed. In this case it is a Standard PS/2 Port Mouse.
II. Logitech Bigfoot RF Mouse.
There are six tabs in the Mouse properties window.
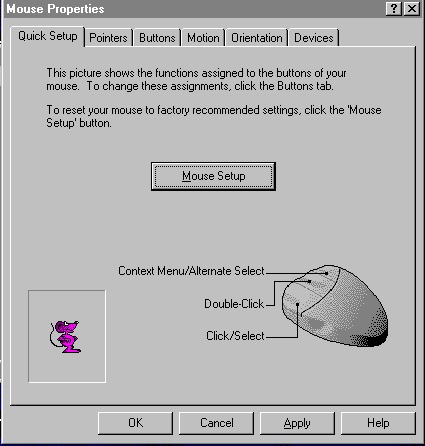
1. Quick setup - From here the user can click on setup to set up the mouse with assistance from the computer.
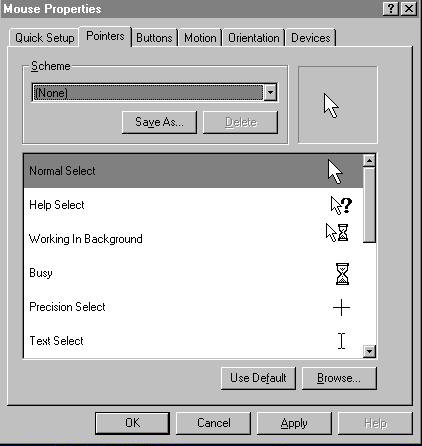
2. Pointers - Allows the user to adjust what the mouse pointers look like for specific situations. The user can also choose from different Windows 95 Schemes for the mouse pointers.
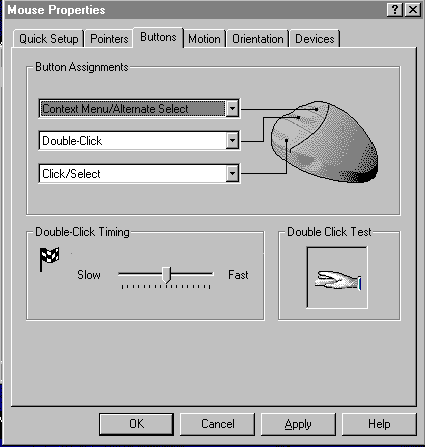
3. Buttons - Allows the user to define Right-Handed or Left-handed configurations, and allows adjustment of the double click speed. If the speed is set to fast, the user has to click the button more rapidly to get the desired response. Conversely, if the speed is set to slow, the user can get the double click effect even with slower clicks on the mouse. The user may also assign specific functions to each of the three buttons.
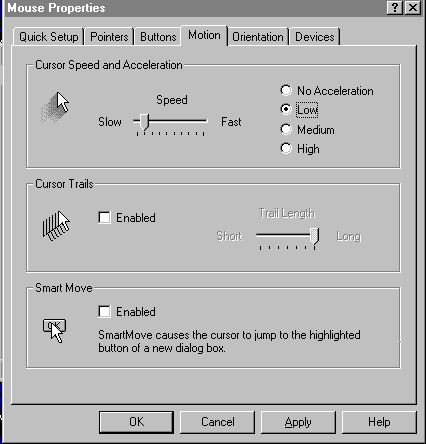
4. Motion - Allows the user to adjust the speed that the pointer moves across the screen, and the size of the trail behind the pointer. The option to automatically have the pointer move to the highlighted button in a new dialog box is also available.
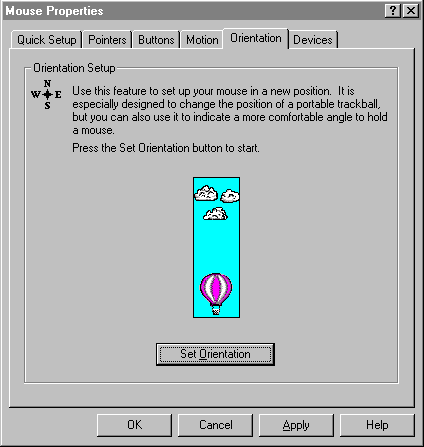
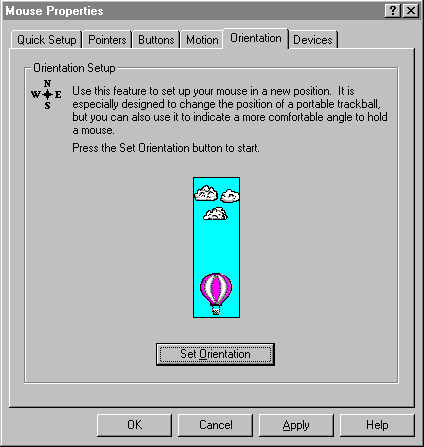
5. Orientation - Allows the user to set the directional movement of the pointer.
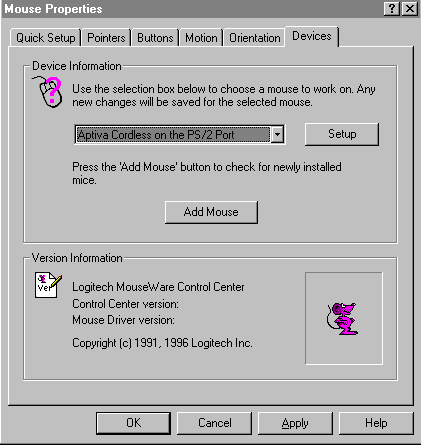
6. Devices - Allows the user to choose which pointing device they are using.
III. Scroll Point Mouse.
There are seven tabs in the mouse setting for the scroll point mouse.
1. Quick Setup - From here the user can setup the mouse with assistance from the computer.
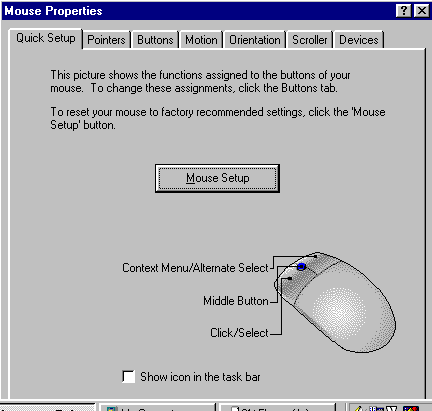
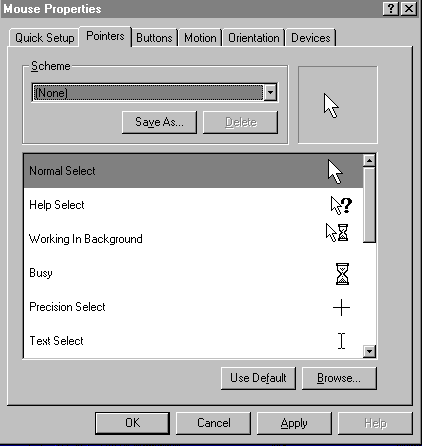
2. Pointers - Allows the user to adjust what the mouse pointers look like for specific situations. The user can also choose from different Windows 95 Schemes for the mouse pointers.
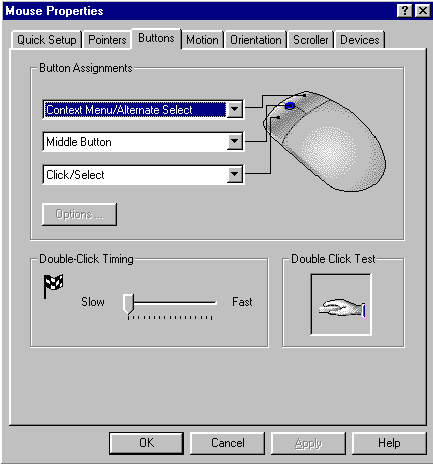
3. Buttons - Allows the user to define Right-Handed or Left-handed configurations, and allows adjustment of the double click speed. If the speed is set to fast, the user has to click the button more rapidly to get the desired response. Conversly, if the speed is set to slow, the user can get the double click effect even with slower clicks on the mouse. The user can also adjust the scroll point on the mouse.
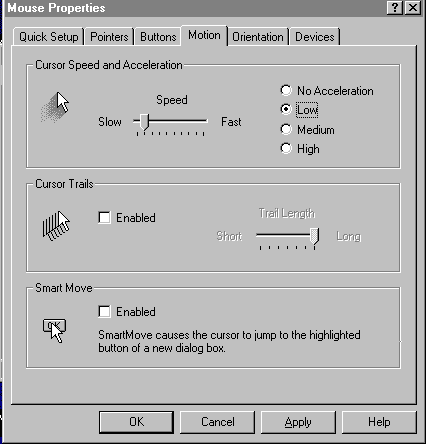
4. Motion - Allows the user to adjust the speed that the pointer moves across the screen, and the size of the trail behind the pointer. The option to automatically have the pointer move to the highlighted button in a new dialog box is also available.
5. Orientation - Allows the user to set the directional movement of the pointer.
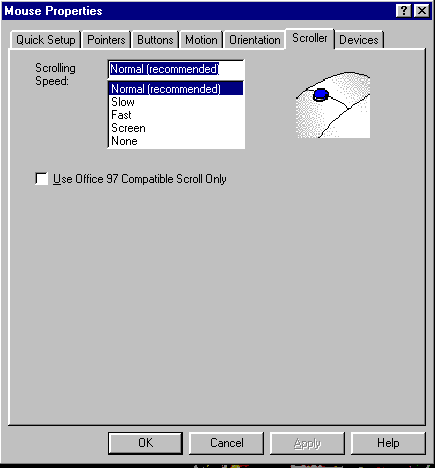
6. Scroller - Allows the user to set the speed of the scroll point
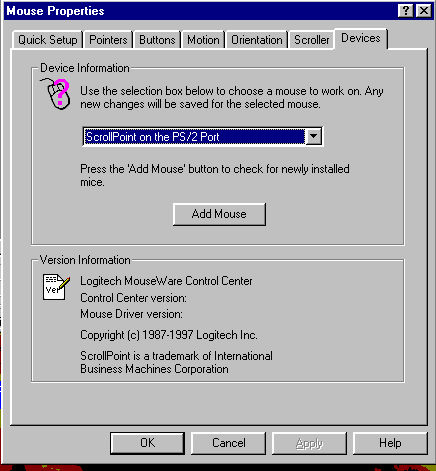
7. Devices - Allows the user to choose which pointing device they are using.
4. Once prefered settings are made, Click on "OK" to save the settings and exit Mouse Properties
5. Close the Control Panel by clicking on the "X" in the upper right-hand corner of the window.
|
Search Keywords |
| |
|
Hint Category |
DOS/Windows 3.x, Windows 95, OS/2, Input Devices | |
|
Date Created |
03-04-98 | |
|
Last Updated |
25-01-99 | |
|
Revision Date |
01-06-99 | |
|
Brand |
IBM Aptiva | |
|
Product Family |
Aptiva | |
|
Machine Type |
2134, 2136, 2137, 2138, 2140, 2142, 2144, 2159, 2161, 2162, 2168, 2176 | |
|
Model |
All | |
|
TypeModel |
| |
|
Retain Tip (if applicable) |
| |
|
Reverse Doclinks |