
|
167.477 bytes |
Service Hints & Tips |
Document ID: LWIK-3RTQMW |
TP 380,385 - Installing additional memory
Applicable to: World-Wide
To install additional memory in your ThinkPad 380, 385, follow these simple steps:
1.) Turn off the computer; then disconnect the AC Adapter and all cables from the computer and remove the battery from the unit as well.
2.) Touch any metal object with your hand to release any static electricity.
3.) Turn you computer over.
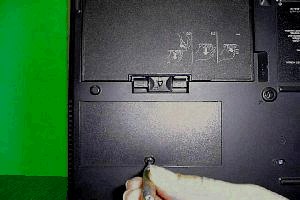
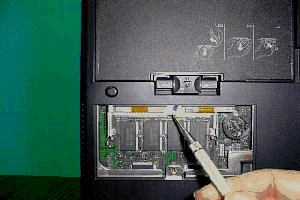
4.) Loosed the screw on the memory slot cover and remove the cover.

5.) Find the notch on the edge of the DIMM and line it up with the notch in the memory slot.

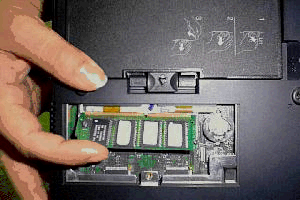
6.) With the notched end of the DIMM toward the right side of the socket, inset the DIMM, at an angle of approximately 20 degrees, into the socket; then press firmly.

7.) Pivot the DIMM until it snaps into place.
8.) Place the memory cover over the memory slot; then install the screw back into its place.
|
Search Keywords |
| |
|
Hint Category |
Installation/Removal Procedures, Memory | |
|
Date Created |
18-02-98 | |
|
Last Updated |
12-06-98 | |
|
Revision Date |
09-06-99 | |
|
Brand |
IBM ThinkPad | |
|
Product Family |
ThinkPad 380, ThinkPad 380D, ThinkPad 380E, ThinkPad 380ED, ThinkPad 380XD, ThinkPad 385D, ThinkPad 385E, ThinkPad 385ED, ThinkPad 385XD | |
|
Machine Type |
2635 | |
|
Model |
Various | |
|
TypeModel |
| |
|
Retain Tip (if applicable) |
| |
|
Reverse Doclinks |