

|
1.494.027 bytes |
Service Hints & Tips |
Document ID: MNOK-3T7NKD |
Aptiva - How to setup America Online
Applicable to: United States
1. Install America Online
NOTE: For Aptiva 2144, 2168, 2134, 2137, 2138, 2176, or 2159 models, skip to step #2 - Find a Local Number. America Online is already installed on your computer. Double-click the America Online icon in the IBM Information Superhighway folder to begin step 2.
- Double-click the Online Services folder.
- Double-click the icon labeled AOL & Internet FREE Trial.
- Click the button labeled America Online.
If you would like a copy of the America Online Quick Reference Guide, click the button labeled Print Now. Make sure that your printer is on and has a good supply of paper before doing so.
To continue without printing, click Continue.
AOL will perform a check of your system. Afterwards, click the button labeled Install.
The status bar is displayed while AOL is installed. This will take a few minutes.
Once all of the America Online files are installed, the following box will be displayed. Click OK.
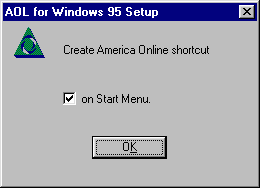
The setup for the America Online program is now complete. Click OK to continue.
Note: If you do not wish to have the AOL icon on the start menu, remove the check from the box show above.
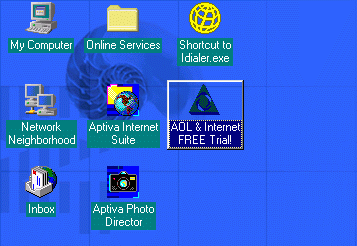
You will now have an icon for AOL on your desktop. NOTE: Your desktop may look different from the example below.
Double-click the AOL icon to begin the next step.
2. Find a Local Number
When you double-click on the America Online icon for the first time, you will likely get a status bar stating "Please wait while America Online updates your computer." Please wait for that to complete - it may be several minutes.
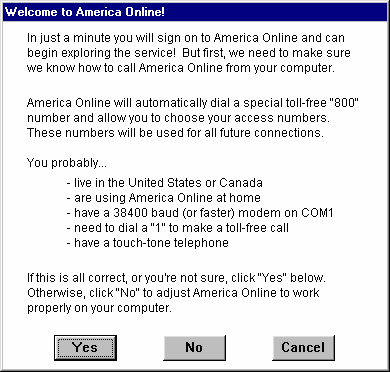
The following windows is displayed. Click the button labeled Yes.
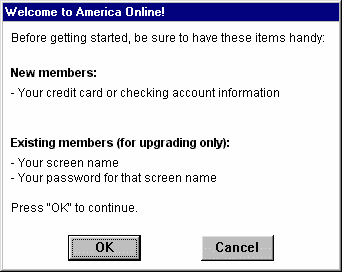
Please read all of the following windows carefully. Note that you will need a credit card or checking account information for billing purposes to proceed. Click OK.
America Online will now dial a toll-free 800 number to get the latest list of phone numbers in your area.
Once connected, there will be a delay while the phone list is downloaded to your computer.
When the mouse pointer changes from an hour glass, type in your area code.
Click Continue.
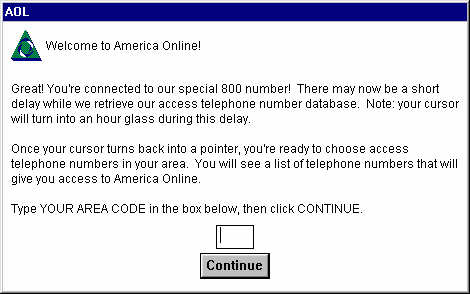
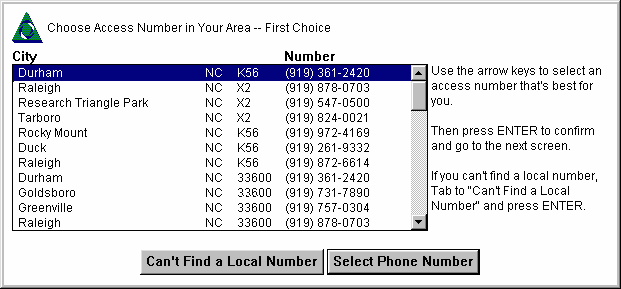
A list of phone numbers will be presented based on your area code. Choose the number that is closest to you. If your machine is a 2137/2138/2140/2142, try to find a local number that is labeled K56.
Note: If the number you choose is not local, regular long distance rates for your area will apply. If you can't find a local number, click that button and read the information provided very carefully.
Click the button labeled Select Phone Number.
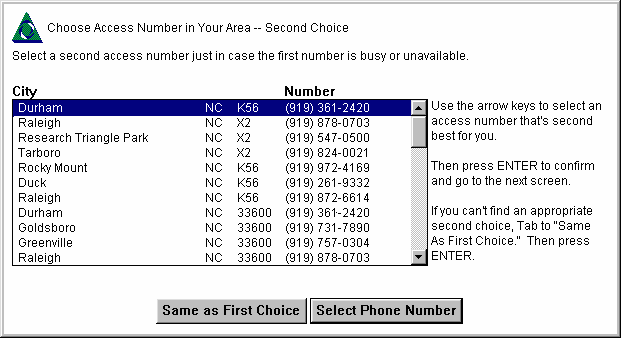
Sometimes the first number selected will be busy or may not be available. This next window allows you to choose an alternate number. Follow the same guidelines above for choosing a second number.
If there is only one local number for your area, click the button labeled Same as First Choice.
If you find a second number in your area, select it and then click Select Phone Number.
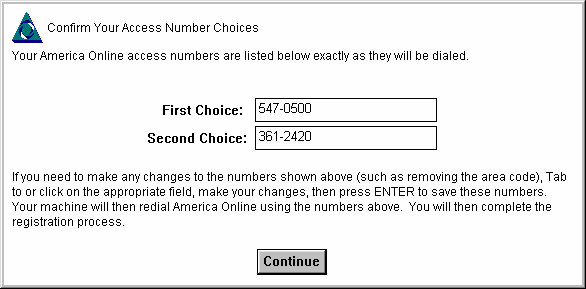
The next window will give you a chance to look at the numbers selected to be sure that they are correct for your area.
Click Continue.
America Online will next disconnect from the 800 number and dial one of the local numbers selected in the step above.
3. Choose Billing Method
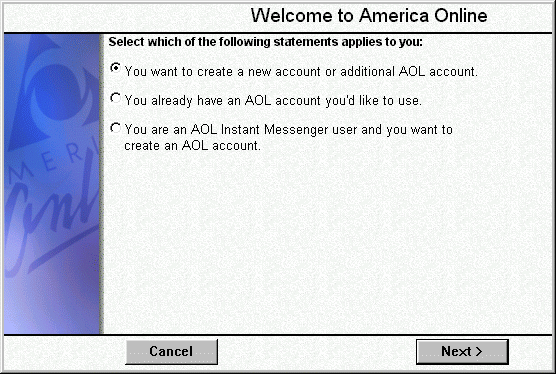
Once America Online connects to your local number, the following window is displayed.
Click the button labeled Next.
Fill in the registration information. Use the Tab key or the mouse to move to all of the various fields. For phone numbers, be sure to include the area code.
Click Next after completing the form.
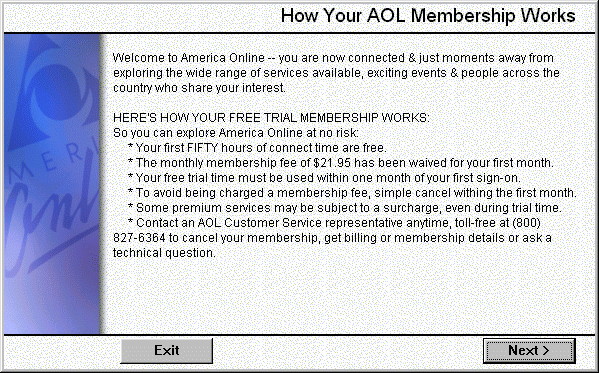
Please read the terms of membership carefully. For any questions regarding AOL's membership or billing practices, please contact AOL customer service at 800-827-6364.
Click Next to continue. Click Exit if you do not agree to these terms. By clicking on Exit, you will not sign up for the service and will not be billed.
Choose the appropriate billing method.
Click Select.
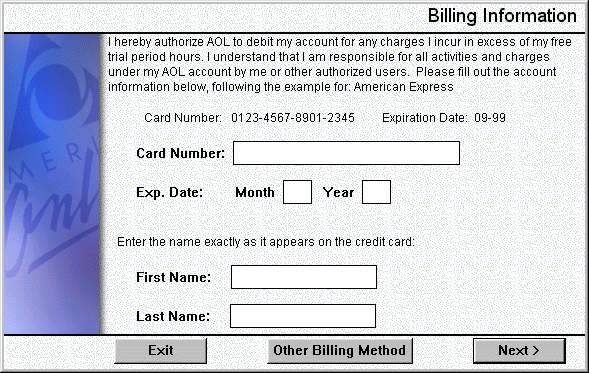
You will next be asked for your billing information. The screen will look slightly different if you choose not to pay by credit card.
Enter all of the information requested.
Click Next.
Verify the billing information. The address information that you entered previously will be displayed. Change anything which is incorrect.
Click Next.
4. Agree to the Terms of Service
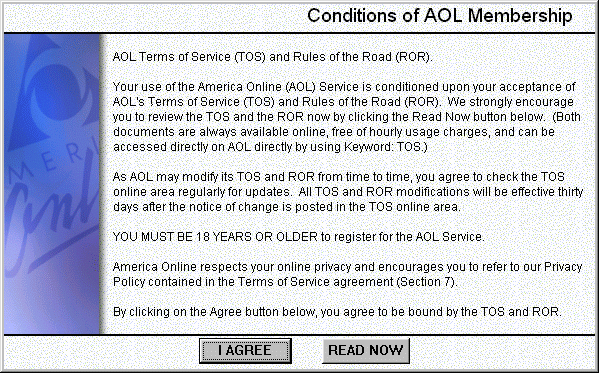
The Terms of Service specify the conditions for membership with America Online.
Please read the Terms of Service.
Click I Agree to continue.
Choose a Screen Name and Password
Your Screen Name is your identity on America Online. It becomes your e-mail address and is how you are identified when on the service. Though you may have up to 5 screen names with each AOL account, this first screen name is the "master" screen name and cannot be changed.
Please read what AOL has to say about screen names.
Click Next to continue.
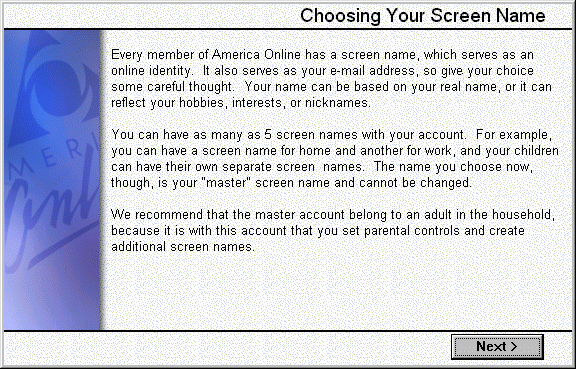
Type in your choice of screen name.
Click Next.
You may find that your choice for screen name is already taken. AOL will tell you so and give you the opportunity to change it.
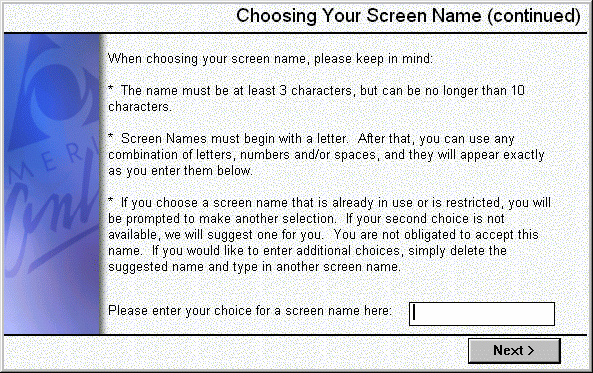
Make a note of your screen name - it becomes your e-mail address.
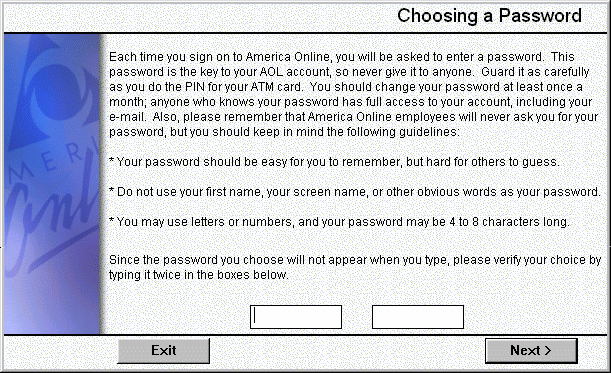
Next you will need a password. A password is the key to your account.
You should never give out your password online. AOL will never ask for it.
Please read what America Online has to say about passwords.
Type your password twice - one time in each box provided. Make sure that you remember your password.
Click Next.
5. Get Online!
Read the Tips from America Online.
Click Finished.
Some Survey questions will be asked. These are usually to gather information about the type of hardware is in use.
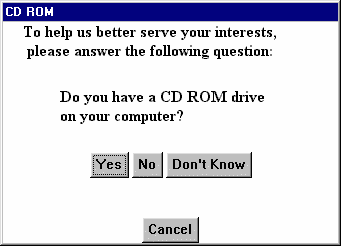
After all of the survey questions complete you should see the following window.
Click OK.
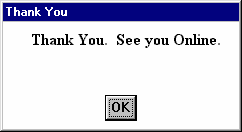
You are now Online! This first time you will be presented with several advertisements from America Online.
You will also see the AOL Quick Start window. We recommend that you start here.
|
Search Keywords |
| |
|
Hint Category |
Communications Software, Software Installation/Configuration | |
|
Date Created |
03-04-98 | |
|
Last Updated |
09-12-98 | |
|
Revision Date |
07-12-99 | |
|
Brand |
IBM Aptiva | |
|
Product Family |
Aptiva | |
|
Machine Type |
2134, 2136, 2137, 2138, 2139, 2140, 2142, 2144, 2153, 2159, 2161, 2162, 2168, 2176 | |
|
Model |
C21; 6R6; E40; E14; E16; E24; E34; E26; E46; E76; E56; E96; L31; L5H; L51; L61; L71; L7M; S61; S6H; S62; S6S; 3R6; 4R1; 4R9; M31; M51; M52; M63; 2R9; 3R1; 3R3; 3R5; 3R7; 3R9; 4R0; 4R2; 4R3; M41; M53; M55; M56; M57; M61; M62; M71; M72; 5R5; M91; 5R1; 6R3; A10; A12; A14; 5R2; 5R3; 5R6; 5R8; 5R9; 6R0; 6R4; 6R5; A15; A40; A44; A45; A50; A51; A52; A90; A92; A94; 13R; 14R; 15R; 16R; 17R; 18R; 19R; 20R; S64; S66; S74; S76; S78; S7H; S80; S90; C3D; C3E; C85; C8E; C8F; C8H; C8M; C8X; C9E; C9F; C9S; C9X; 21R; 22R; 24R; 25R; 28R; 29R; 30R; 31R; 33R; 35R; 37R; 41R; S35; S3C; S8C; S8H; S9C; S9H; S9M; SIB; C23; C31; C32; C33; C35; C3X; C53; C55; C5X; C65; C66; C67; C6B; C6D; C6E; C6V; C6X; C6Y; C6Z; C73; C77; C7X; 6R8; 6R9; 7R0; 7R1; 7R2; 7R3; 7R6; 7R7; 7R9; 8R1; 8R6; 8R8 ; 9R1; 9R2; 9R3; 9R4; 9R5; 9R6; E2N; E3N; E4N; E5N; E6N; E5D; EP4 | |
|
TypeModel |
| |
|
Retain Tip (if applicable) |
| |
|
Reverse Doclinks |