

|
1.584.094 bytes |
Service Hints & Tips |
Document ID: MNOK-3TAMNM |
Aptiva - How to setup America Online version 4.0
Applicable to: United States
Step 1 -- Install Version 4.0
This installation example assumes that you are new to America Online. If you have an existing version of America Online, your selections will differ from the examples shown. Please see the Help files or call America Online for further assistance.
1. Open the Setup program for America Online 4.0
2. Select "Joining AOL as a new member". Click Next.
3. AOL will next ask where to install. We recommend that you do not change this setting. Click Next.
4. AOL would like to put an icon on your start menu. If you do not wish to have AOL listed on your start menu, remove the check mark. Click Next.
5. AOL will next check for available disk space. If you do not have enough free space, you will need to delete some files that you are not using and start the installation again. Click Next to continue.
6. You will see the progress of the files being installed. This will take a few minutes.
7. Review the AOL Quick Reference Guide. To print this guide, click Print. Click Finish to continue.
8. Next, you will be asked to restart your computer. Click OK - the computer will be restarted automatically.
9. When your computer restarts, you will have a blue AOL icon in your system tray beside the time in the lower left-hand corner. Double click this icon to continue.

Step 2 -- Find a Local Access Number
1. Once you have double clicked the America Online icon, the following window appears. Choose "Begin automatic setup". Click Next.
2. America Online will seach for a modem on your computer. This will take a few minutes.
3. Select your model of modem from the list provided. Click Next.
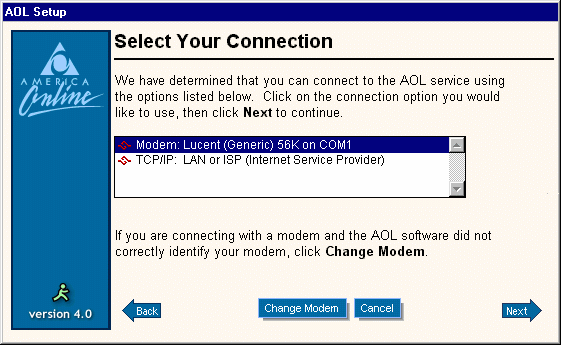
4. Type in your area code. Click Next.
5. If you do not have Touch Tone phone service in your area, remove the check mark from "Touch Tone Service". If you have to dial a special number to access an outside line (such as "9" from a business or hotel) place a check mark in the second box and type in whatever digit(s) is needed. Type a comma after the number. If you have call waiting put a check mark in the third box. Check in your local phone book or with your local phone company to see what digits need to be dialed to disable call waiting. This varies for each local phone company. If you do not have call waiting or are not sure what needs to be dialed to disable call waiting for your area, leave the check mark off for this setting. Click Next.
6. America Online will now dial a toll free 800 number. This may take several minutes.
7. America Online will next download a list of local phone numbers to your computer. This process will take several minutes.
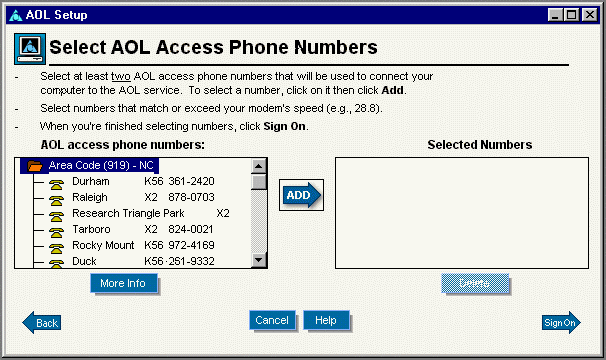
8. AOL will display a list of numbers found for your area. Choose local numbers from the list on the left, one at a time, and then click Add. Try to find at least two local numbers.
NOTE: If you choose numbers that are not local, regular long distance charges will apply. If you are not sure whether a particular number is local please contact your phone company.
When you have added all of the local numbers you would like, click Sign On.
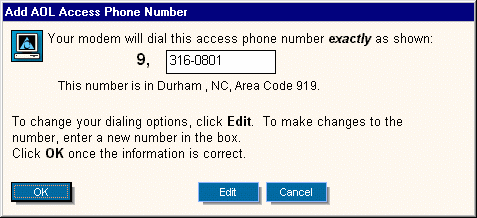
9. The following window will be displayed showing the first number you added in the previous step. If you need to make any changes to the way the number should be dialed click Edit. Click OK to continue.
10. America Online will now connect using the local numbers you selected.
Step 3 -- Select Billing Options
1. Type in the Registration Number and Password provided by America Online. If America Online was included with your computer you should have a brochure with this information. If you are missing this information, please contact America Online. They will be happy to provide you with all of the information you need to connect to the serivce! Click Next.
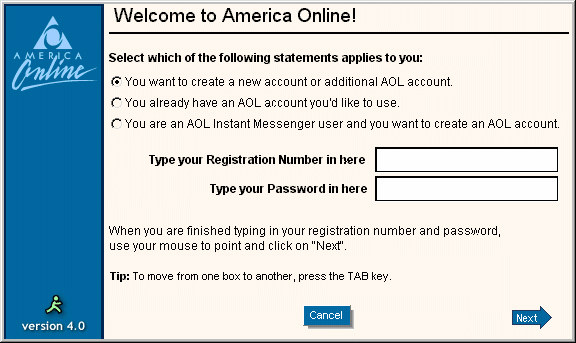
2. Please fill in all of the requestion information. Name, address and phone numbers are all required to continue. Click Next.
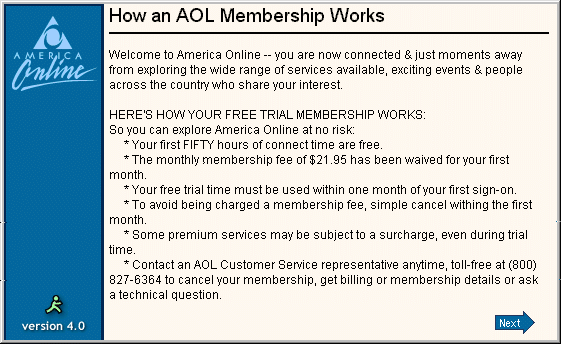
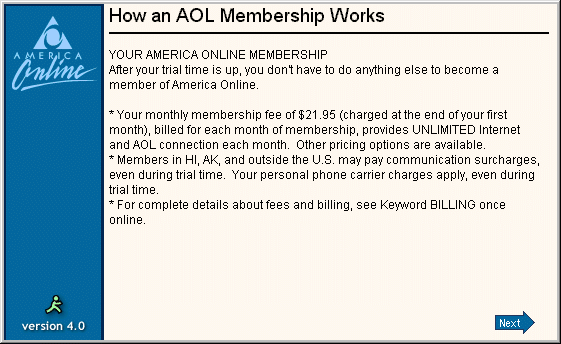
3. The next few windows explain how the membership works. Please read it carefully and make note of the customer service number listed. Click Next.
4. Choose a method of payment. Click Next.
5. Enter the required billing information. Click Next.
6. Next verify that the address entered previously is the same as your billing address. If your billing address is different enter it here. Click Next.
Step 4 -- Terms of Service
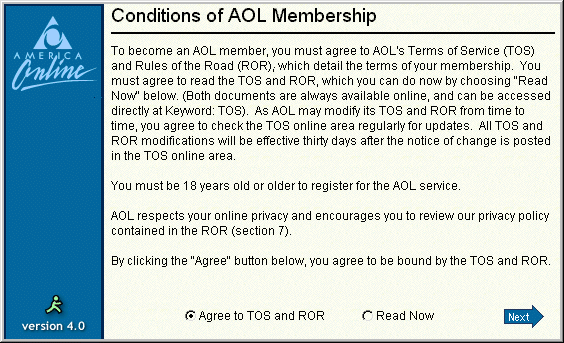
1. Please carefully review the Terms of Service. Click "Agree to TOS and ROR". Click Next.
Step 5 -- Choose a Screen Name and Password
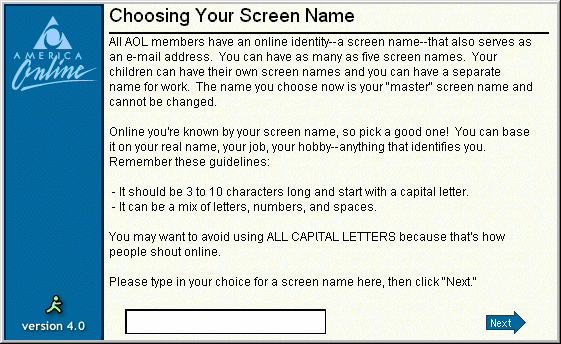
1. Your screen name is your identity on America Online. This is the name that other people on the service will see and it becomes your E-Mail address. Though you may have up to five screen names per AOL account, the first screen name that you create is your "master" screen name and cannot be changed.
2. Please read what America Online has to say about choosing a screen name. Enter your choice of screen name. Click Next.
NOTE: Your first choice of screen name may already be used. You will be given the option of trying several times.
3. Confirm you screen name. Again, this first screen name will be your online identity and e-mail address. If you are happy with the screen name, click Next.
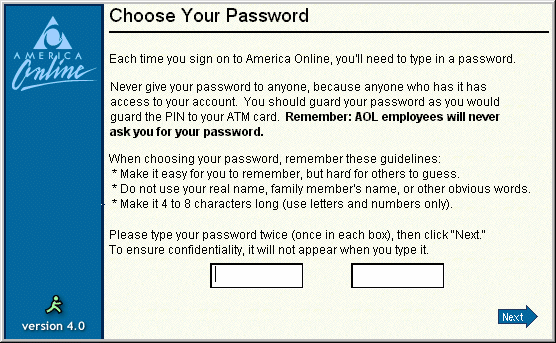
4. Next, choose a password. You will be asked to it two times to make sure that it has been entered correctly.
NOTE: AMERICA ONLINE WILL **NEVER** ASK FOR YOUR PASSWORD. Your password is your key to your America Online account. Please *never* give this to anyone online.
5. Please read what America Online has to say concerning passwords. Enter your password two times (once in each box provided). Remember your password! Click Next.
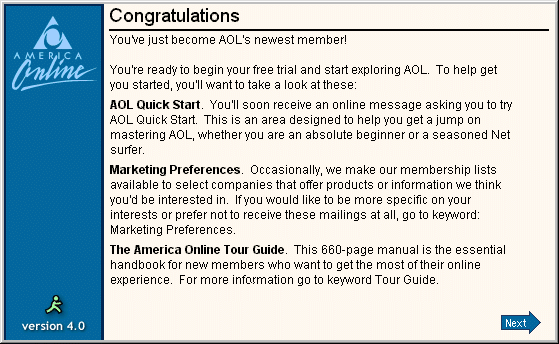
6. Your membership is confirmed. Click Next.
Step 6 -- Begin Using the Service
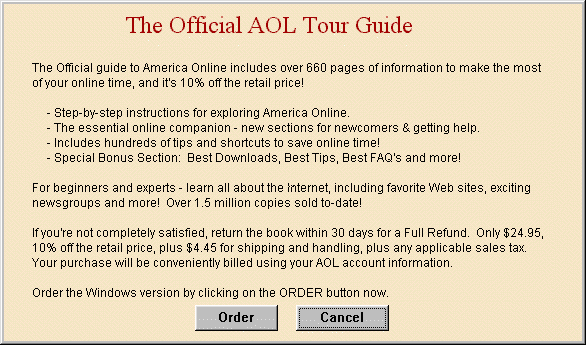
1. Several ads may appear. If you are interested click Order, otherwise choose Cancel to continue.
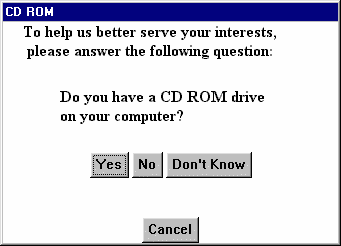
2. Several survey questions may appear. These are usually questions regarding the hardware installed in your computer.
3. The following window will appear after the survey questions. Click OK.

4. Congratulations! You are now online! We strongly encourage you go through AOL Quick Start.
|
Search Keywords |
| |
|
Hint Category |
Communications Software, Software Installation/Configuration | |
|
Date Created |
06-04-98 | |
|
Last Updated |
09-12-98 | |
|
Revision Date |
08-12-99 | |
|
Brand |
IBM Aptiva | |
|
Product Family |
Aptiva | |
|
Machine Type |
2134, 2136, 2137, 2138, 2140, 2142, 2144, 2159, 2161, 2162, 2168, 2176 | |
|
Model |
C21; 6R6; E40; E14; E16; E24; E34; E26; E46; E76; E56; E96; L31; L5H; L51; L61; L71; L7M; S61; S6H; S62; S6S; 3R6; 4R1; 4R9; M31; M51; M52; M63; 2R9; 3R1; 3R3; 3R5; 3R7; 3R9; 4R0; 4R2; 4R3; M41; M53; M55; M56; M57; M61; M62; M71; M72; 5R5; M91; 5R1; 6R3; A10; A12; A14; 5R2; 5R3; 5R6; 5R8; 5R9; 6R0; 6R4; 6R5; A15; A40; A44; A45; A50; A51; A52; A90; A92; A94; 13R; 14R; 15R; 16R; 17R; 18R; 19R; 20R; S64; S66; S74; S76; S78; S7H; S80; S90; C3D; C3E; C85; C8E; C8F; C8H; C8M; C8X; C9E; C9F; C9S; C9X; 21R; 22R; 24R; 25R; 28R; 29R; 30R; 31R; 33R; 35R; 37R; 41R; S35; S3C; S8C; S8H; S9C; S9H; S9M; SIB; C23; C31; C32; C33; C35; C3X; C53; C55; C5X; C65; C66; C67; C6B; C6D; C6E; C6V; C6X; C6Y; C6Z; C73; C77; C7X; 6R8; 6R9; 7R0; 7R1; 7R2; 7R3; 7R6; 7R7; 7R9; 8R1; 8R6; 8R8 ; 9R1; 9R2; 9R3; 9R4; 9R5; 9R6 | |
|
TypeModel |
| |
|
Retain Tip (if applicable) |
| |
|
Reverse Doclinks |